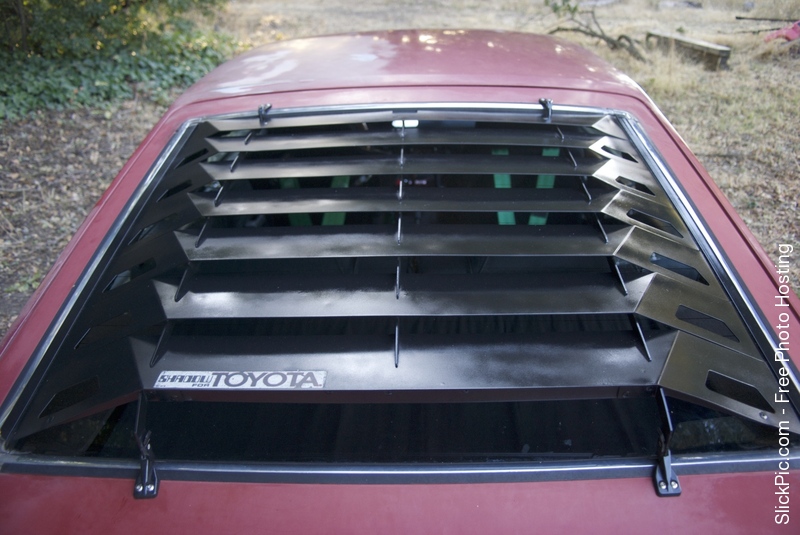
nice start to your project. that Louvre must be pretty rare. is it branded? any idea who manufactured it?
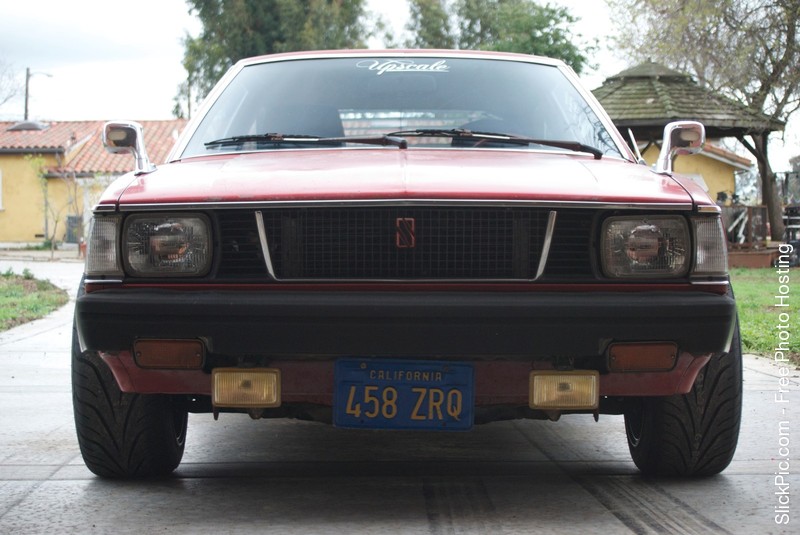
I can identify your grill as from the early type sprinter sedan. the S badge = sprinter.
See this site for japanese E7 model specs http://www.group5-web.com/e7/
For your radiator, consider getting an alloy 90 degree bend welded to the top outlet. Then the top radiator hose fits on transversely instead of interfering the vacuum advance diaphragm on the distributor.
Also you will improve your fuel economy if you attach the vacuum advance on the distributor. Since you have sidedrafts you'll need to connect a port from each runner into a distribution chamber, then from there to the distributor. All four runners may be too much since the factory pipe runs directly from the primary throttle near closed throttle. so try a port from #1 & 2 first and check it with a timing light to see if it's working. It'll advance the timing at idle and low load situations, -improving fuel efficiency, but should retard timing under load. blip the throttle with timing light running and you'll see the timing retard back to base timing momentarily. Refer to the 3t workshop manual to check vacuum advance matches the factory spec.
hope that helps
-Mark
My TE72 Project
Moderators: BOBLOOK, AE25, pufito18
-
bombapinoy
- Posts: 29
- Joined: Thu Jul 11, 2013 9:15 pm
Re: My TE72 Project
Thanks Mark! Still needs a lot of work but hopefully it will come together nice.
According to the sticker on the louvers, they are "Shadow for Toyota"AE25 wrote:nice start to your project. that Louvre must be pretty rare. is it branded? any idea who manufactured it?
Also...I wouldnt what you call the most knowledgeable person dealing with cars. So I'm assuming that I would need to run lines from the vacuum advance from the dizzy to the first carb? I would like to improve my mpg so I can use it more often haha.AE25 wrote:Also you will improve your fuel economy if you attach the vacuum advance on the distributor. Since you have sidedrafts you'll need to connect a port from each runner into a distribution chamber, then from there to the distributor. All four runners may be too much since the factory pipe runs directly from the primary throttle near closed throttle. so try a port from #1 & 2 first and check it with a timing light to see if it's working. It'll advance the timing at idle and low load situations, -improving fuel efficiency, but should retard timing under load. blip the throttle with timing light running and you'll see the timing retard back to base timing momentarily. Refer to the 3t workshop manual to check vacuum advance matches the factory spec.
hope that helps
-Mark
-
bombapinoy
- Posts: 29
- Joined: Thu Jul 11, 2013 9:15 pm
Re: My TE72 Project
Per request of a lot of users, time to update the very slow progress of the e7
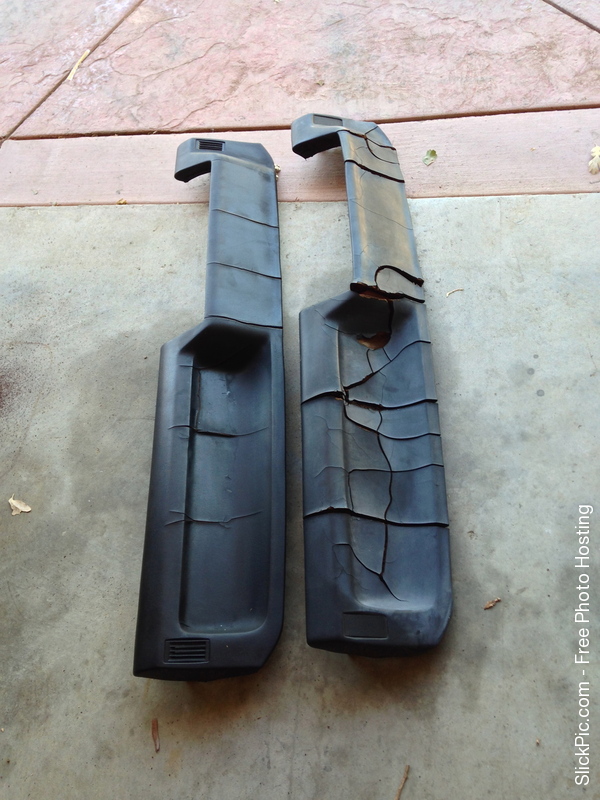
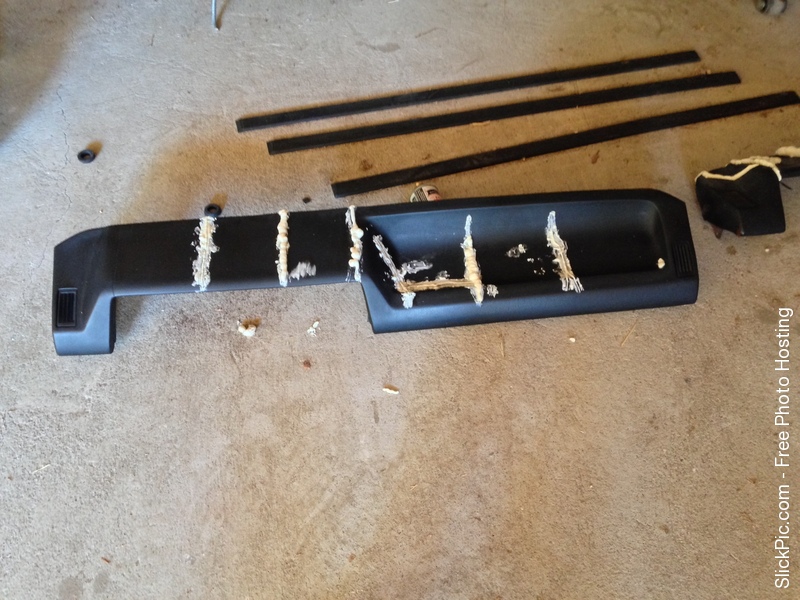
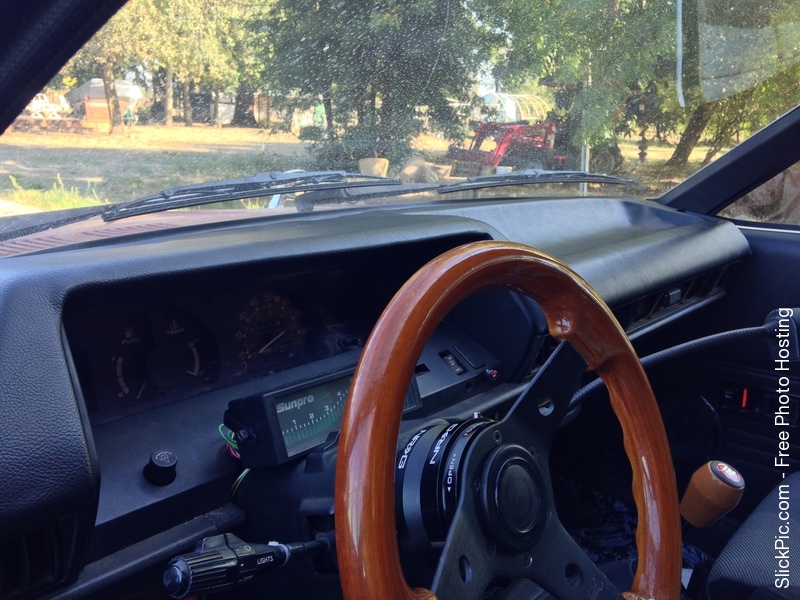
Having an old car means you are going to have cracks no doubt. So what I did was tear off the entire dash. Found a decent one at the junkyard, ground out the cracks, filled them in, and just put over a new vinyl for that nice crack free dash.
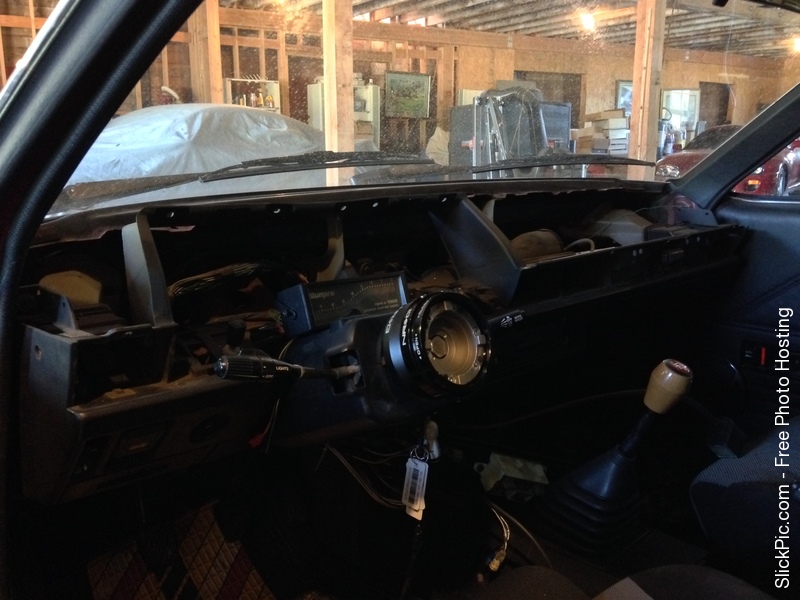
All that work just to take off the dash though...
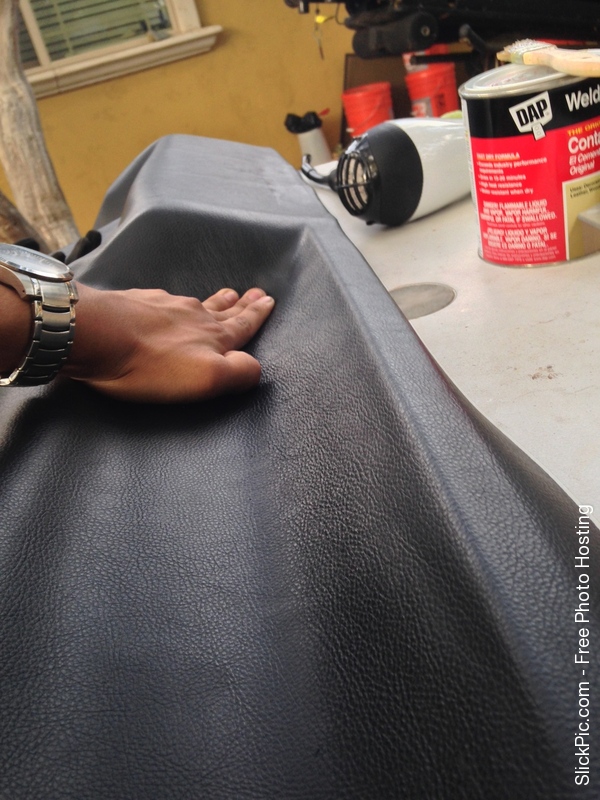
And I couldn't be more than happy to see what a new dash would look like on such an old car. It really changed everything. The little things you do on your car count the most and make your driving experience more enjoyable.
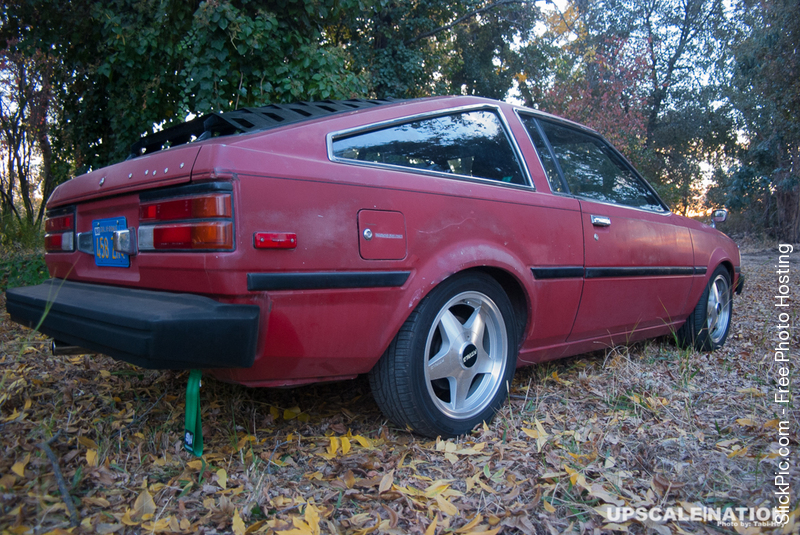
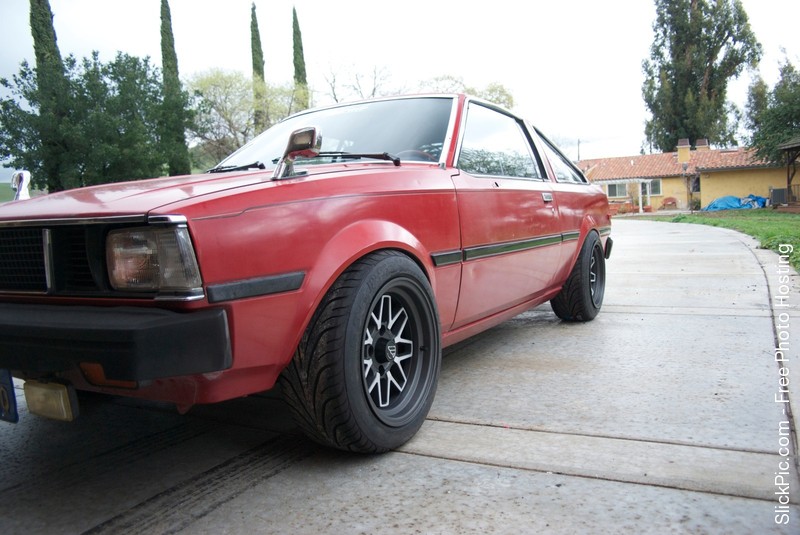
Also decided to paint the louvers to make it look newer. After paint and mounting it on the car, it was just such a nice change that they might be one of my favorite parts on the corolla! It was just a quick paint so don't mind it being the worst paint job ever. I'm so lucky to have found that at the junkyard. Thank you Uncle! (the one who bought it for me at the yard)
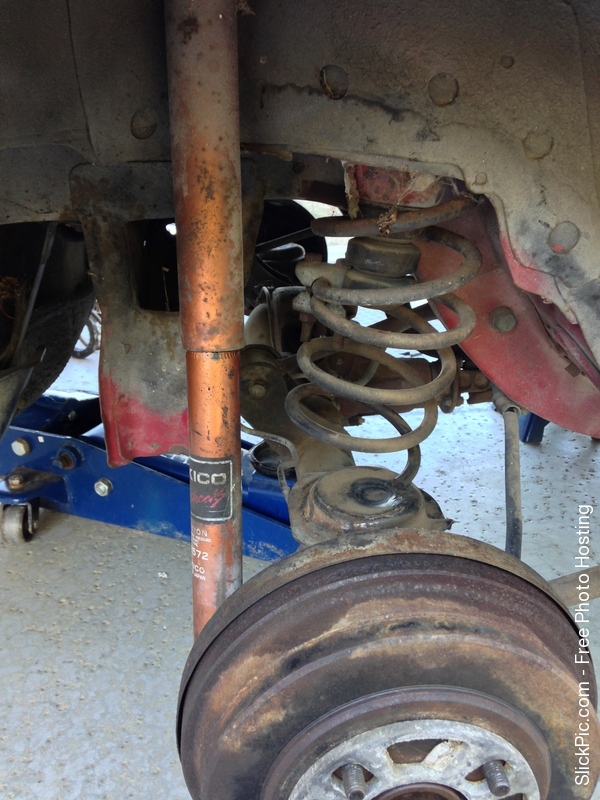
So when I was working on my car and I raised up the car on the side, I heard a metal clunk drop on the floor. I looked and saw the rear springs on the floor had collapsed. I asked my dad what happened and he said he cut the springs when he got the car to lower it. In his defense though that was the only way to lower your car back in the day so I don't blame him for the cut springs. This meant a suspension upgrade is a VERY MUCH necessity because I don't want to deal with a failing suspension and drive off the road.
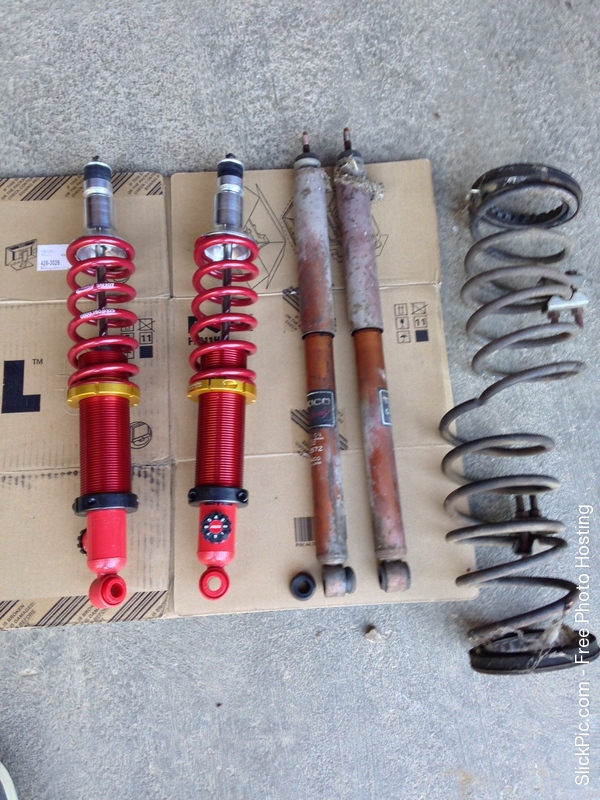
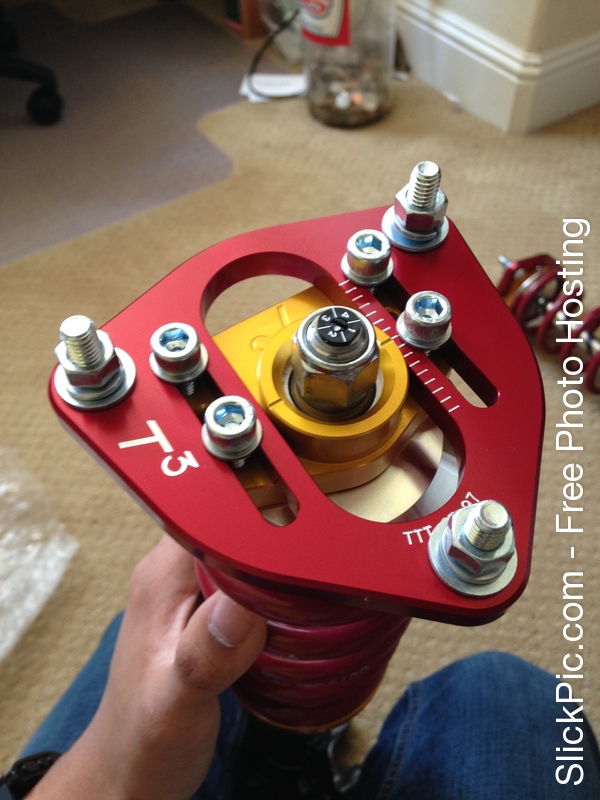
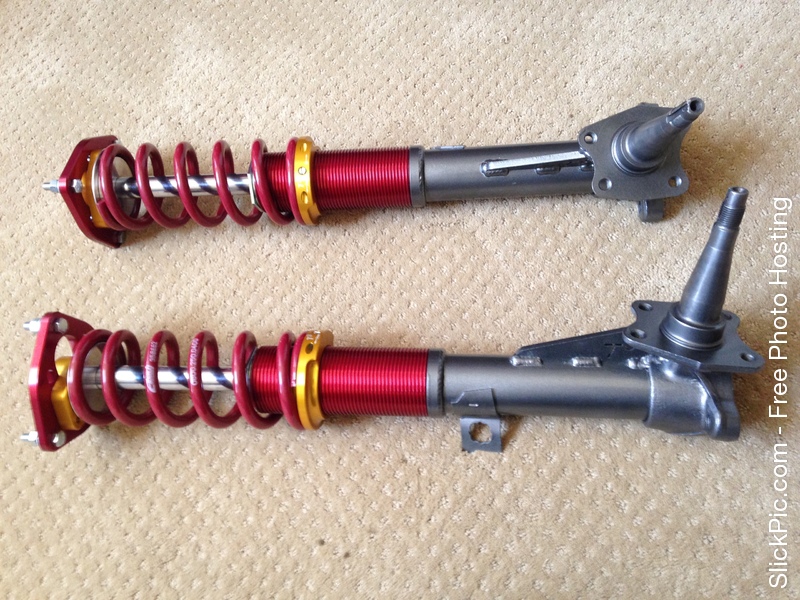
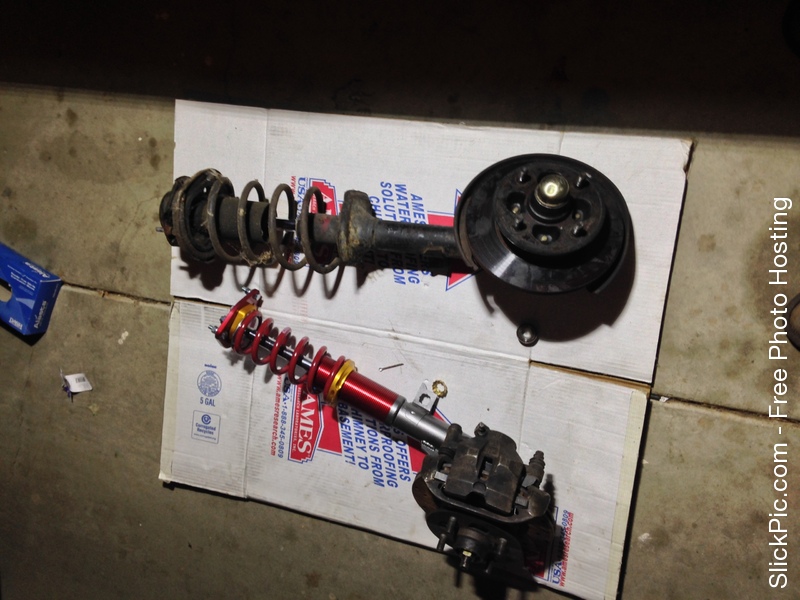
Gabe from T3 gave me some awesome advise and recommended me a good setup for the car and went with 5.7kg spring rate. This was nice and stiff and good for when I go drifting.I only got the rear set for now because I don't have the funds to finance both the front and back suspension. But eventually I will switch to their front coilover system. When I got the coils in the mail I rejoiced like a little school girl and couldn't wait to put them on. You can tell they make some good quality parts.
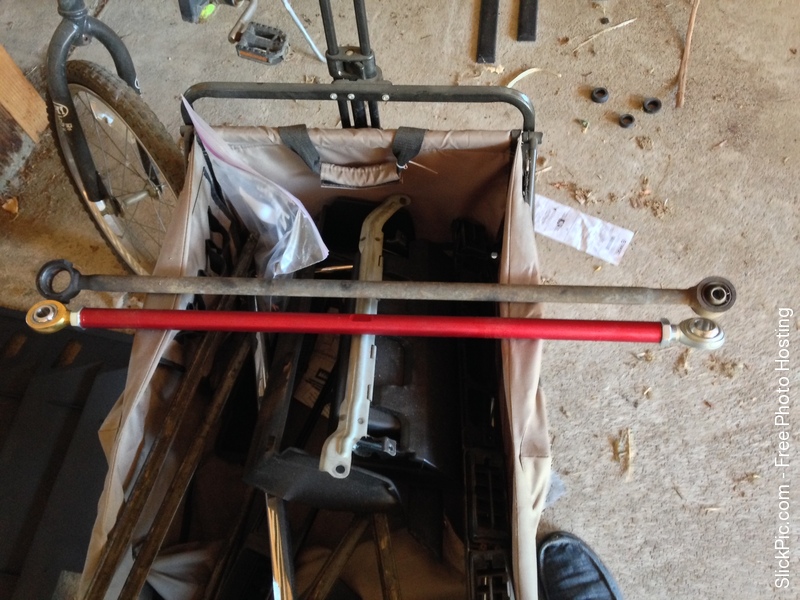
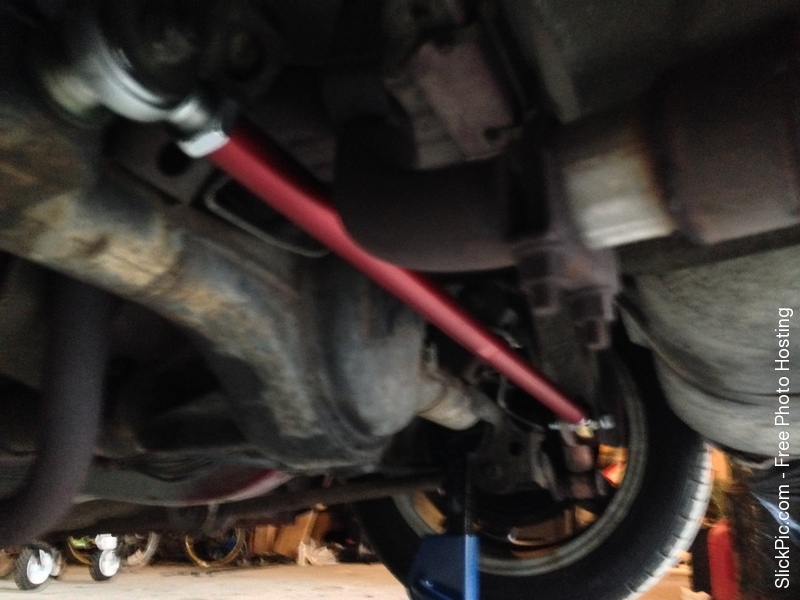
Also Since the car was lowered I needed to fix the problem of having the wheel pushed towards the driver side. So I replaced the stock panhard/lateral bar to a T3 one as well. Fixed the problem right away and and rear is now nice and even.
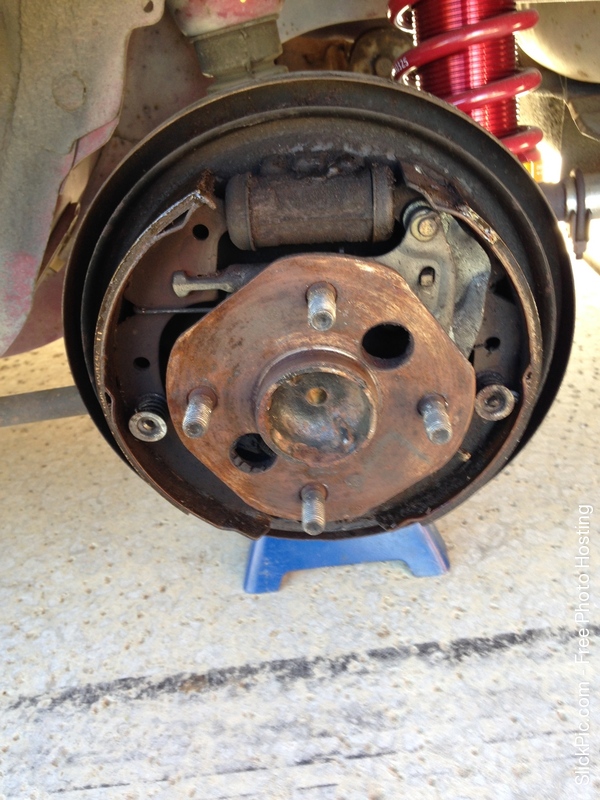
While I had the suspension off the car I decided why not check the drums. I'm glad I did. The rear drums were gone...no wonder I had to refill the brake cylinder all the time. So I wen't to autozone and got brand new hardware, shoes, and wheel cylinders. Since I had a hard time with the brakes I asked my buddy nemcho to change them for me. It was more complicated than I imagined and I'm glad I called him out to give me a hand. Thanks again Nemcho I owe you one.
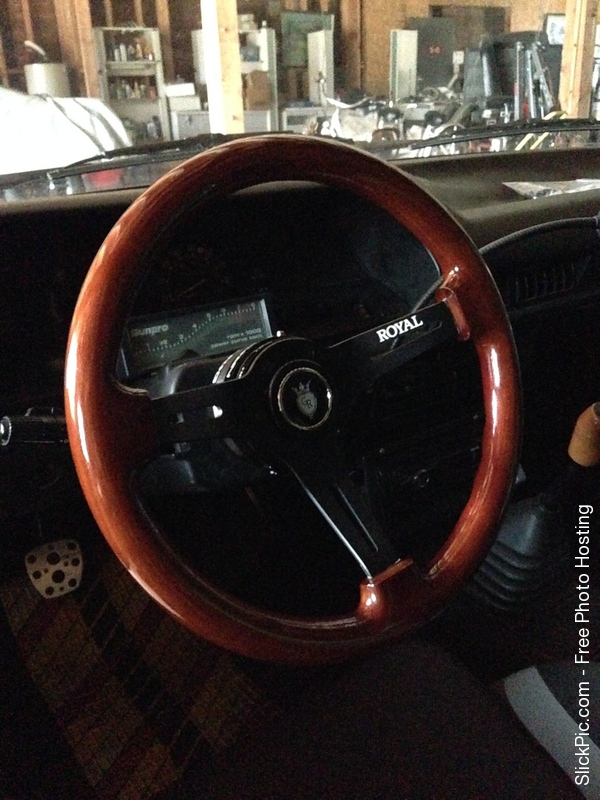
The Luisi steering wheel wasn't quite cutting it for me...Maybe I'm just being picky but the steering wheel felt too small and the grip was too thick. So I went on the hunt for a new steering wheel! Originally I wanted a Nardi wheel. (who doesn't) However the price was waaaaaaaaay too much for just a steering wheel. That would be half of the front coils for me. So I turned to Grip Royal. Their steering wheels looked really nice and I always wanted a deep wheel. And the price isn't too bad either. So when I got the wheel and put it on, I was more than satisfied for the wheel I got. I would even consider buying another one just because of their quality and price. It was the perfect size in all ways and was the best fit I could ever ask for. Thanks Scott!
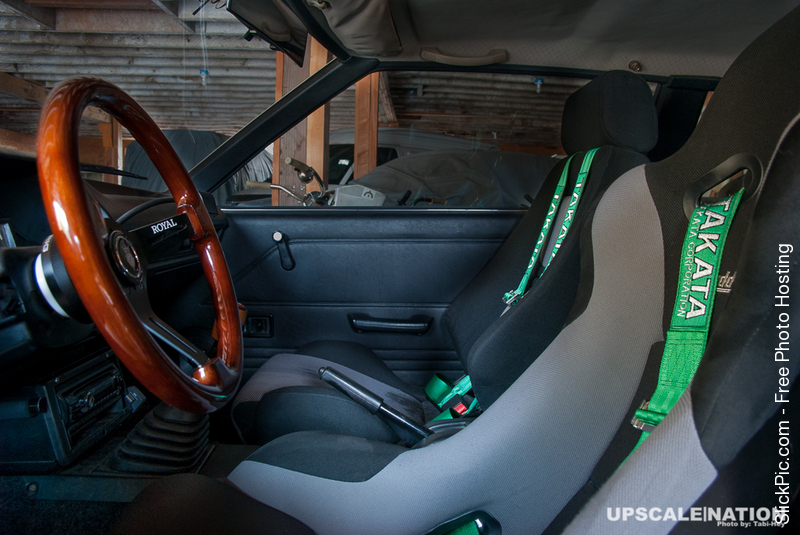
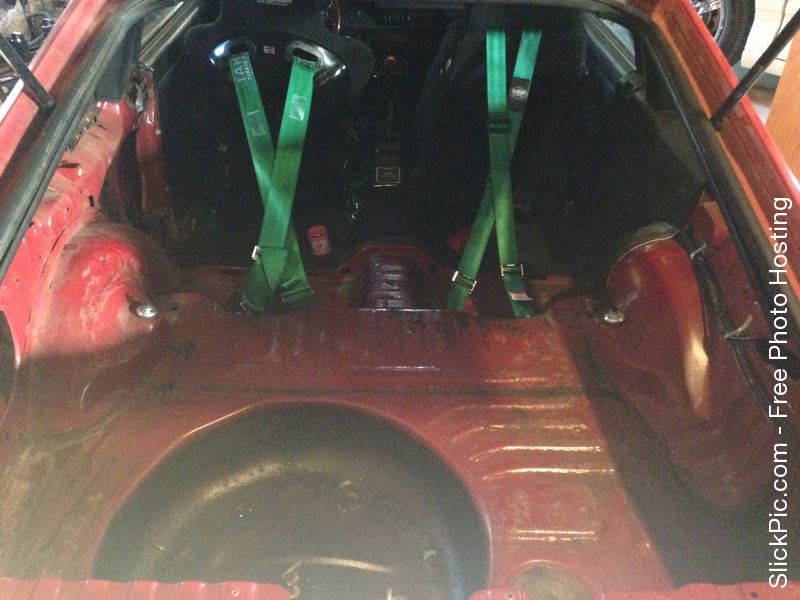
You can see that the driver harness has also been upgraded to Takatas.
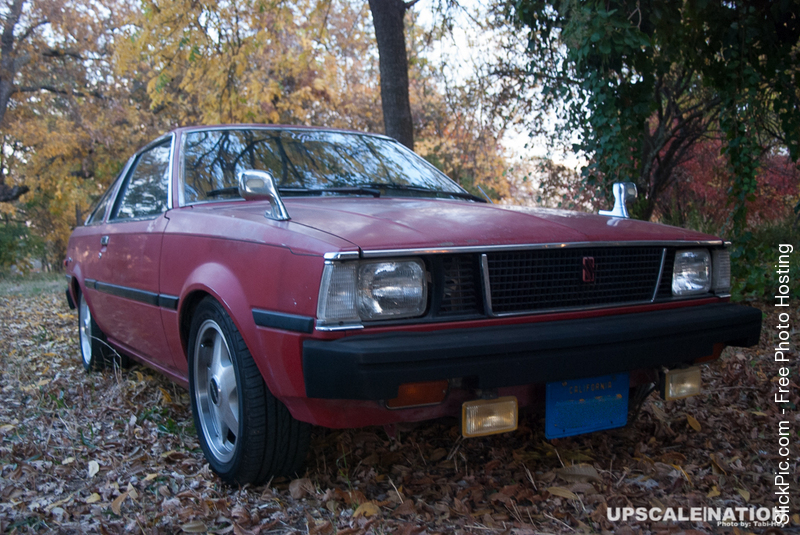
I have finally found some moldings from the junkyard too so I can replace the bad ones with better looking ones and now the car looks more complete with them!
Now unfortunately due to some manufacturing delays the AME wheels won't be coming in until around February according to my source. However as you can see that car is taking baby steps in order to become my perfect old school whip.
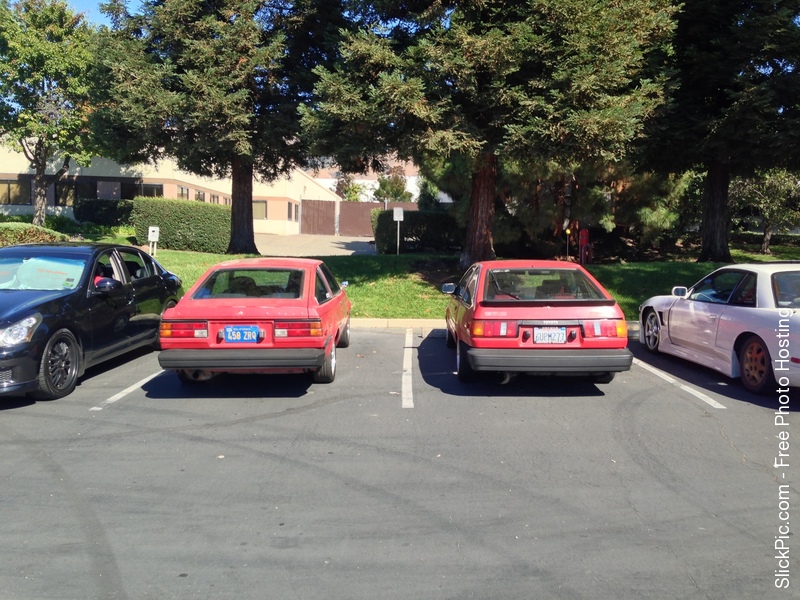
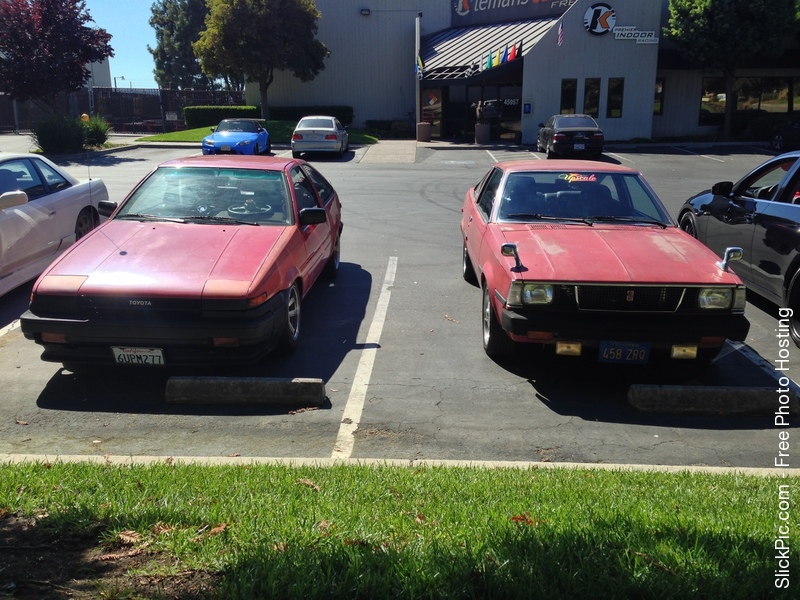
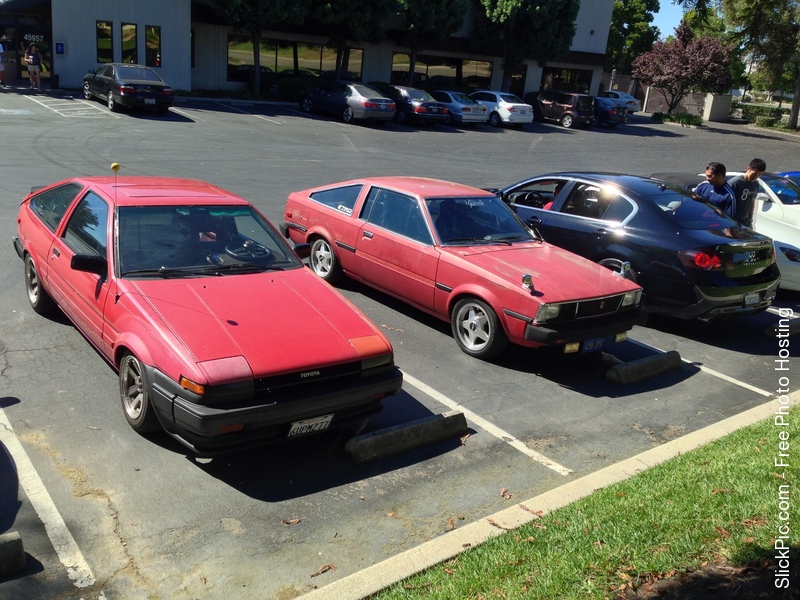
If you have any suggestions or comments please feel free to let me know as I am open to suggestions and take note of comments and have that be part of my constructive criticism. And anyways here are some lucky shots I was able to find with A very similar AE86! Hope I can talk to the owner soon and have a photoshoot with him. You can see where the AE86 shape originated.

Having an old car means you are going to have cracks no doubt. So what I did was tear off the entire dash. Found a decent one at the junkyard, ground out the cracks, filled them in, and just put over a new vinyl for that nice crack free dash.
All that work just to take off the dash though...
And I couldn't be more than happy to see what a new dash would look like on such an old car. It really changed everything. The little things you do on your car count the most and make your driving experience more enjoyable.
Also decided to paint the louvers to make it look newer. After paint and mounting it on the car, it was just such a nice change that they might be one of my favorite parts on the corolla! It was just a quick paint so don't mind it being the worst paint job ever. I'm so lucky to have found that at the junkyard. Thank you Uncle! (the one who bought it for me at the yard)
So when I was working on my car and I raised up the car on the side, I heard a metal clunk drop on the floor. I looked and saw the rear springs on the floor had collapsed. I asked my dad what happened and he said he cut the springs when he got the car to lower it.
Gabe from T3 gave me some awesome advise and recommended me a good setup for the car and went with 5.7kg spring rate. This was nice and stiff and good for when I go drifting.I only got the rear set for now because I don't have the funds to finance both the front and back suspension. But eventually I will switch to their front coilover system. When I got the coils in the mail I rejoiced like a little school girl and couldn't wait to put them on. You can tell they make some good quality parts.
Also Since the car was lowered I needed to fix the problem of having the wheel pushed towards the driver side. So I replaced the stock panhard/lateral bar to a T3 one as well. Fixed the problem right away and and rear is now nice and even.
While I had the suspension off the car I decided why not check the drums. I'm glad I did. The rear drums were gone...no wonder I had to refill the brake cylinder all the time. So I wen't to autozone and got brand new hardware, shoes, and wheel cylinders. Since I had a hard time with the brakes I asked my buddy nemcho to change them for me. It was more complicated than I imagined and I'm glad I called him out to give me a hand. Thanks again Nemcho I owe you one.
The Luisi steering wheel wasn't quite cutting it for me...Maybe I'm just being picky but the steering wheel felt too small and the grip was too thick. So I went on the hunt for a new steering wheel! Originally I wanted a Nardi wheel. (who doesn't) However the price was waaaaaaaaay too much for just a steering wheel. That would be half of the front coils for me. So I turned to Grip Royal. Their steering wheels looked really nice and I always wanted a deep wheel. And the price isn't too bad either. So when I got the wheel and put it on, I was more than satisfied for the wheel I got. I would even consider buying another one just because of their quality and price. It was the perfect size in all ways and was the best fit I could ever ask for. Thanks Scott!
You can see that the driver harness has also been upgraded to Takatas.
I have finally found some moldings from the junkyard too so I can replace the bad ones with better looking ones and now the car looks more complete with them!
Now unfortunately due to some manufacturing delays the AME wheels won't be coming in until around February according to my source. However as you can see that car is taking baby steps in order to become my perfect old school whip.
If you have any suggestions or comments please feel free to let me know as I am open to suggestions and take note of comments and have that be part of my constructive criticism. And anyways here are some lucky shots I was able to find with A very similar AE86! Hope I can talk to the owner soon and have a photoshoot with him. You can see where the AE86 shape originated.

Re: My TE72 Project
I love this thing more and more. Really like the Grip Royal wheel, what hub are you using?
1980 TE72 Wagon.
Instagram @wagonsteeze
Instagram @wagonsteeze
-
bombapinoy
- Posts: 29
- Joined: Thu Jul 11, 2013 9:15 pm
Re: My TE72 Project
WarWagn wrote:I love this thing more and more. Really like the Grip Royal wheel, what hub are you using?
Thanks for the love! I used AE86 parts. Most things are interchangable. Only difference is top hats for front suspension really.
-
skellington

- Posts: 140
- Joined: Fri Jul 05, 2013 3:14 am
- Location: Fresno California USofA
Re: My TE72 Project
Nice progress. Keep at it.
1974 TE27 TWINS!
#1 viewtopic.php?f=27&t=628&hilit=Ryan%27s
#2 viewtopic.php?f=27&t=2036
1976 TE31 -sold: viewtopic.php?f=27&t=211&start=20&hilit=Ryan%27s
#1 viewtopic.php?f=27&t=628&hilit=Ryan%27s
#2 viewtopic.php?f=27&t=2036
1976 TE31 -sold: viewtopic.php?f=27&t=211&start=20&hilit=Ryan%27s
-
bombapinoy
- Posts: 29
- Joined: Thu Jul 11, 2013 9:15 pm
Re: My TE72 Project
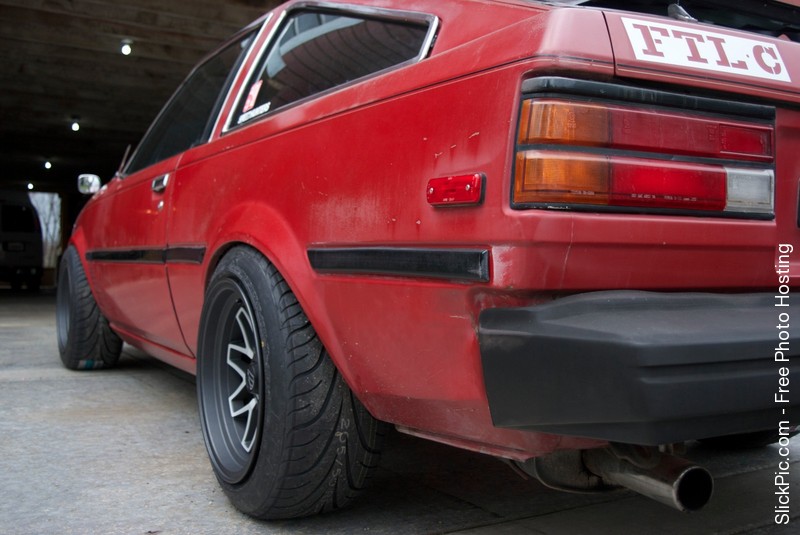
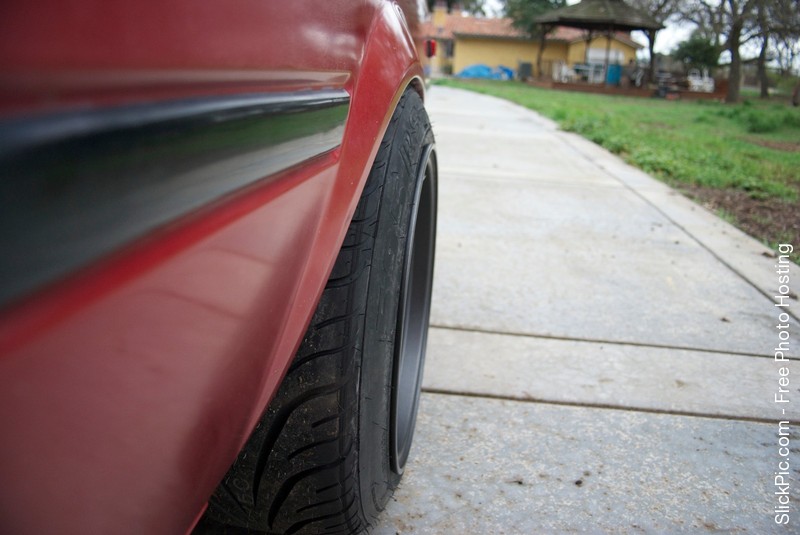
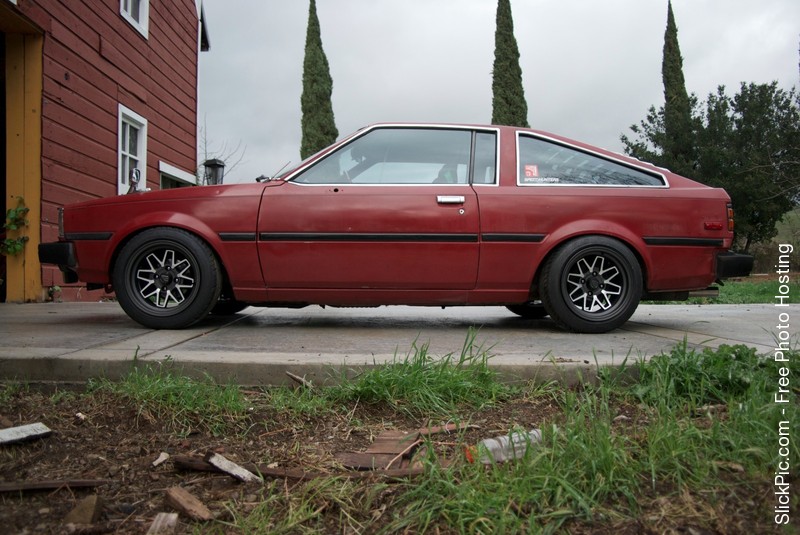
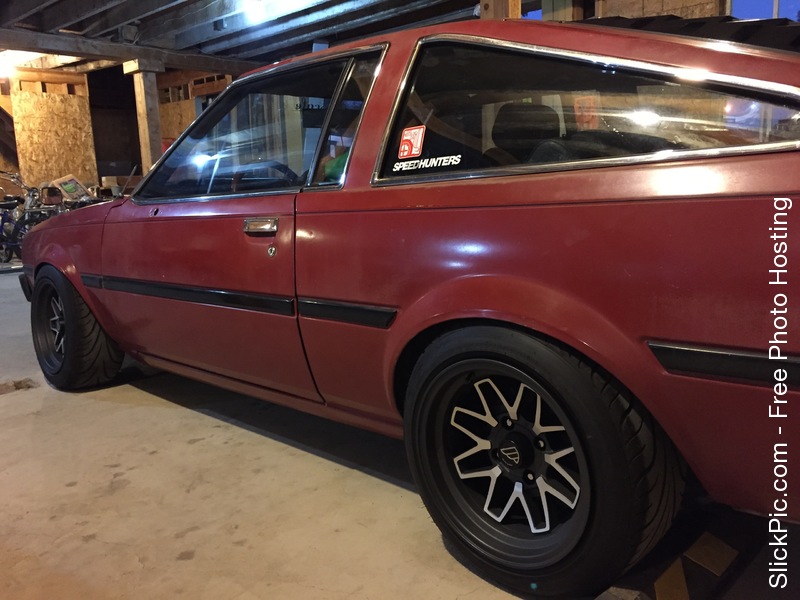
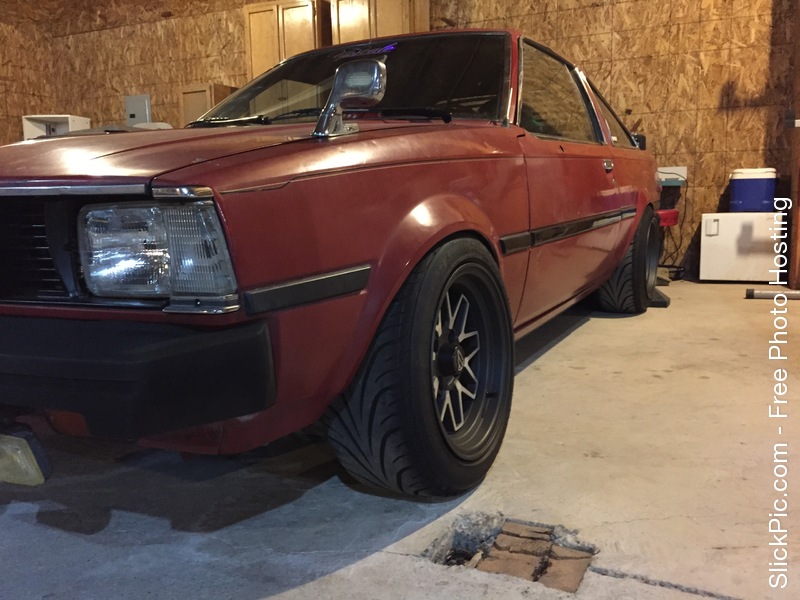
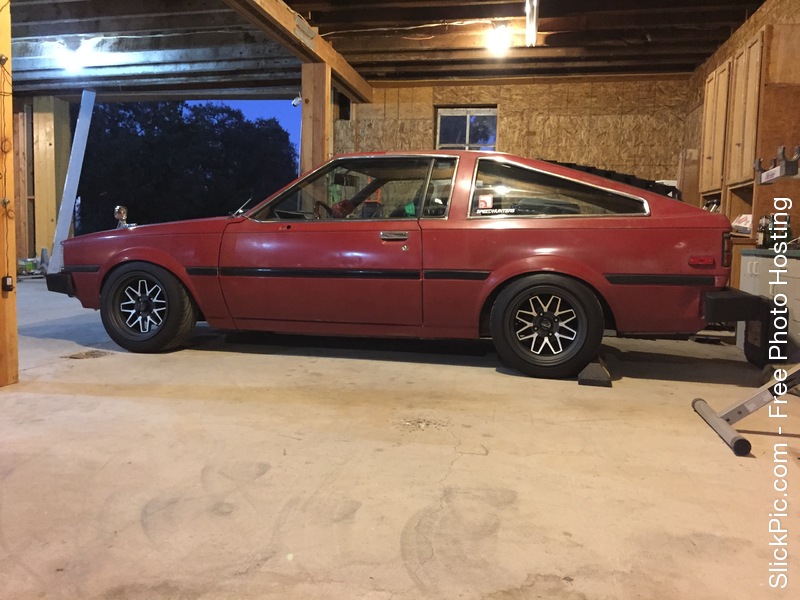
Here are some shots of the e7 with new wheels! Sadly...it doesn't fit...yet. But the fitment was a lot more crazy than I had originally anticipated. Not sure exactly how I will attack this road block but rest assured that I will make it fit. Whether it be fender flares or some crazy fender roll/pull. Also I do realize that I am waaaaaaaay too high. I need to hurry up and save money for my coils haha. I like how the car will be running wider though which means attacking corners will be a lot more fun and more reassuring. Any comments are welcome.
Re: My TE72 Project
Oh men i should have keep my coupe stock 
Looking bad@ss bro keep it up nice nice
Looking bad@ss bro keep it up nice nice
The day we learn to think
-
bombapinoy
- Posts: 29
- Joined: Thu Jul 11, 2013 9:15 pm
Re: My TE72 Project
Update time!
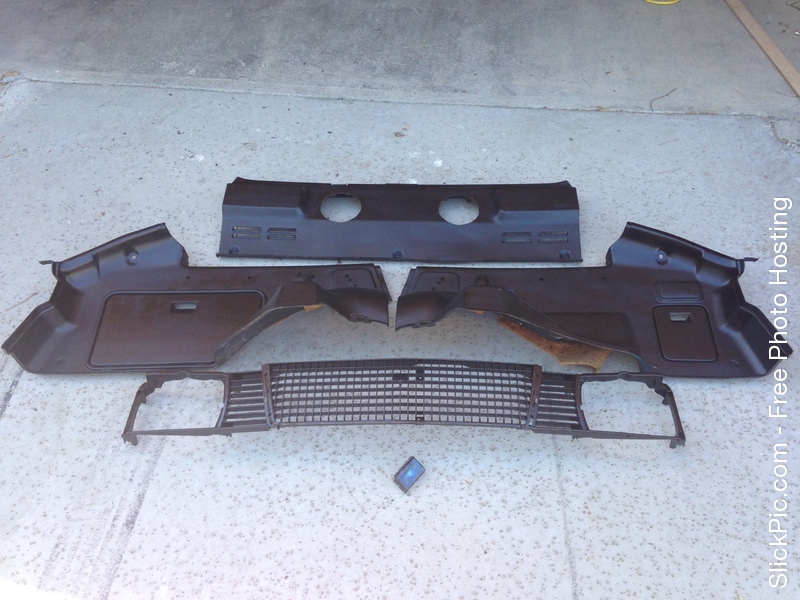
Decided to Clean the interior a bit. And do a bit of restoration work!
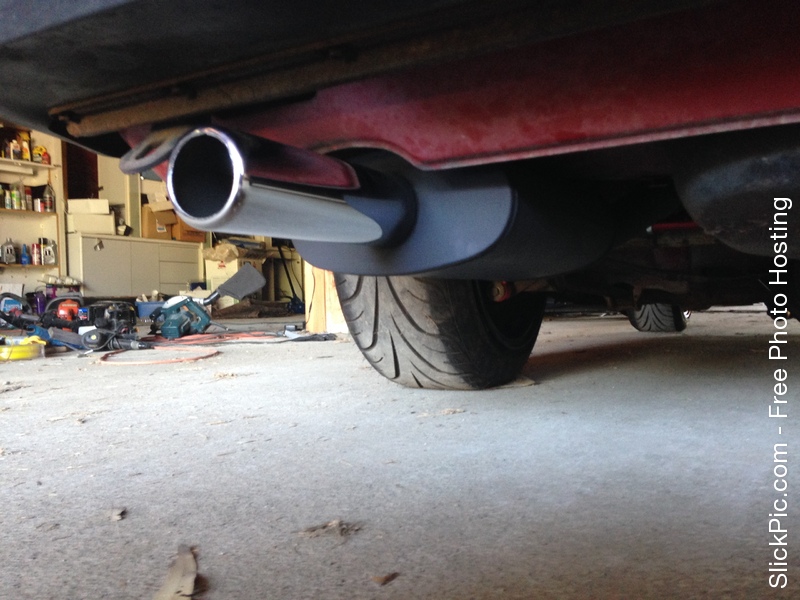
Also my stock exhaust pipe snapped... Whoops. Too many touge runs haha
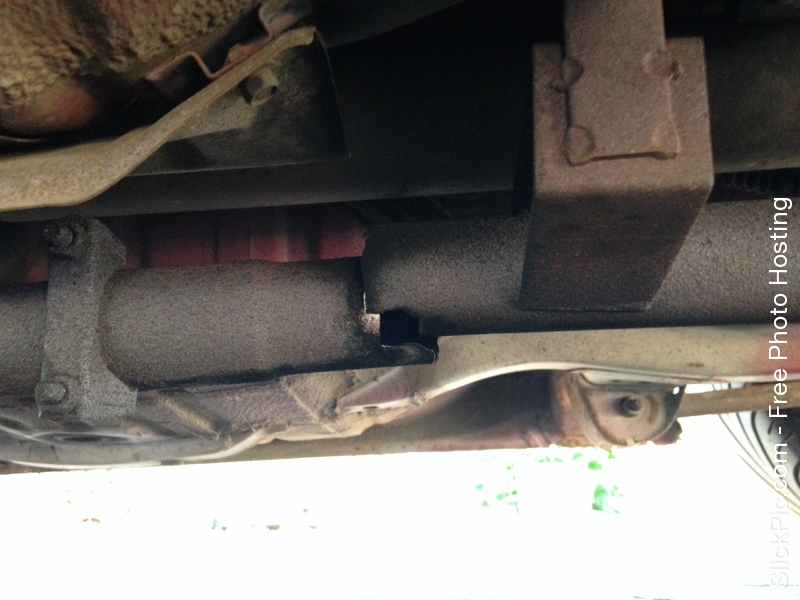
Good bye stock exhaust.

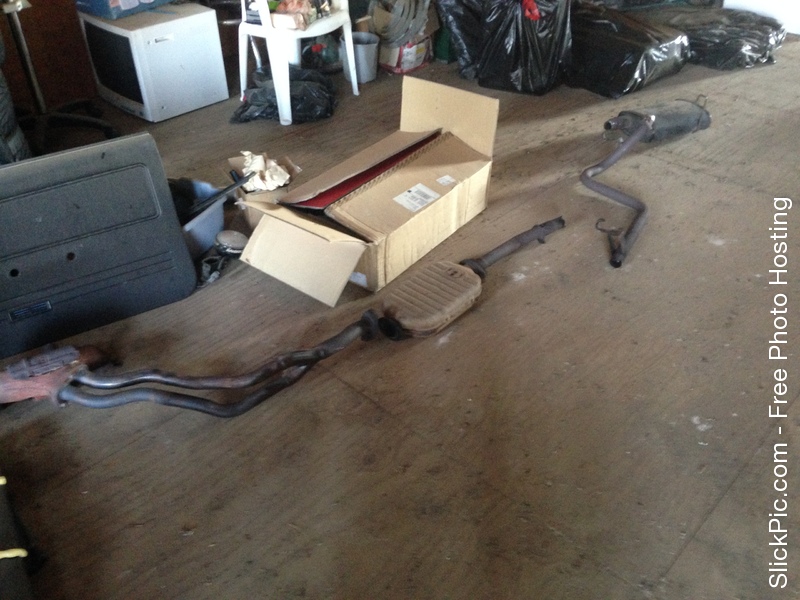
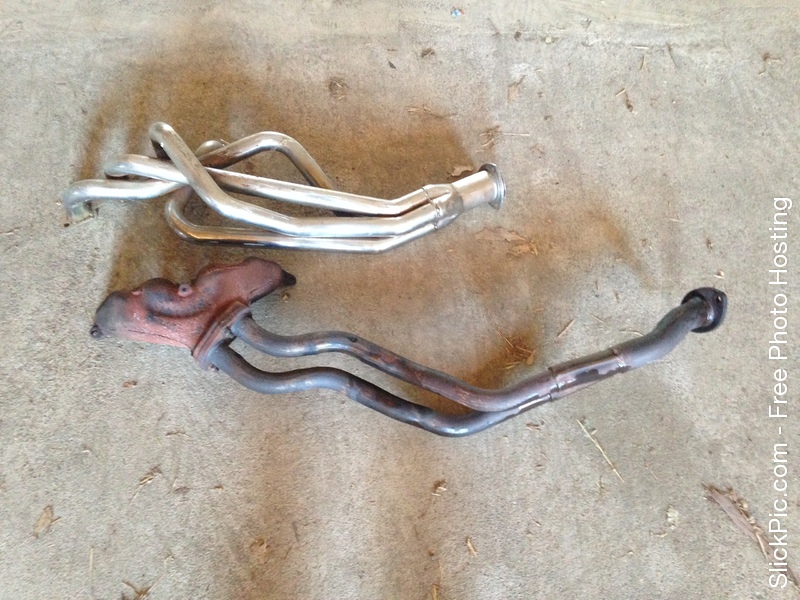
Hello new exhaust!
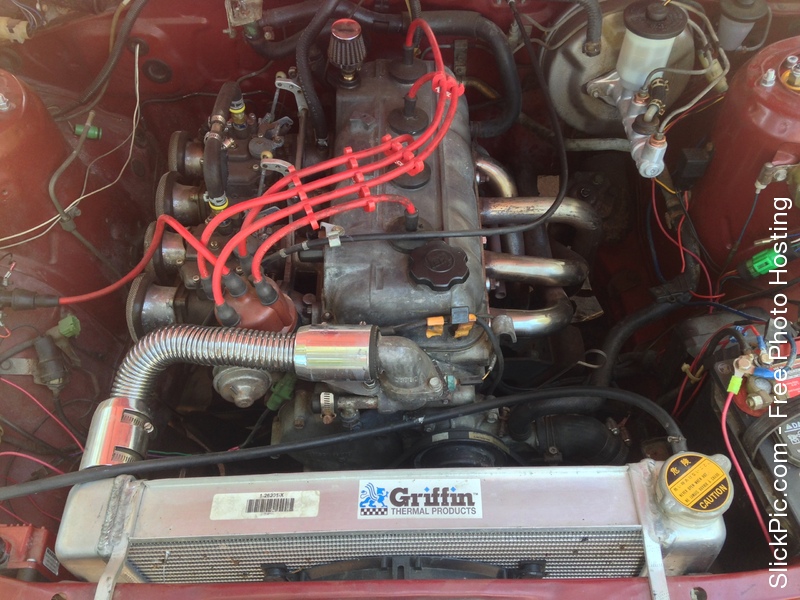
As you can see I cleaned up the engine bay a bit. Still need to wire tuck eventually.
Front coils have finally been installed! And they are a great set. Big shout out to the guys at Techno Toy Tuning. You can definitely feel the quality when you drive it. Not to mention how good it looks.
Taking corners now is a breeze and confidence is way up because of it. Not only that it adds quite some camber even without Negative RCAs. I should probably invest in some RCAs...While I was at it I upgraded the brakes to AE86 disks. Enjoy!
Decided to Clean the interior a bit. And do a bit of restoration work!
Also my stock exhaust pipe snapped... Whoops. Too many touge runs haha
Good bye stock exhaust.
Hello new exhaust!
As you can see I cleaned up the engine bay a bit. Still need to wire tuck eventually.
Front coils have finally been installed! And they are a great set. Big shout out to the guys at Techno Toy Tuning. You can definitely feel the quality when you drive it. Not to mention how good it looks.
Taking corners now is a breeze and confidence is way up because of it. Not only that it adds quite some camber even without Negative RCAs. I should probably invest in some RCAs...While I was at it I upgraded the brakes to AE86 disks. Enjoy!